Makeup is a wonderful way to express yourself, enhance your natural features, and boost your confidence. For beginners, the process may seem overwhelming with the wide variety of products and techniques available today. This comprehensive guide breaks down the makeup application into easy, manageable steps so you can achieve a polished, flawless look no matter your experience level. From skin preparation to the final setting spray, every step is crucial for creating a long-lasting and beautiful finish.
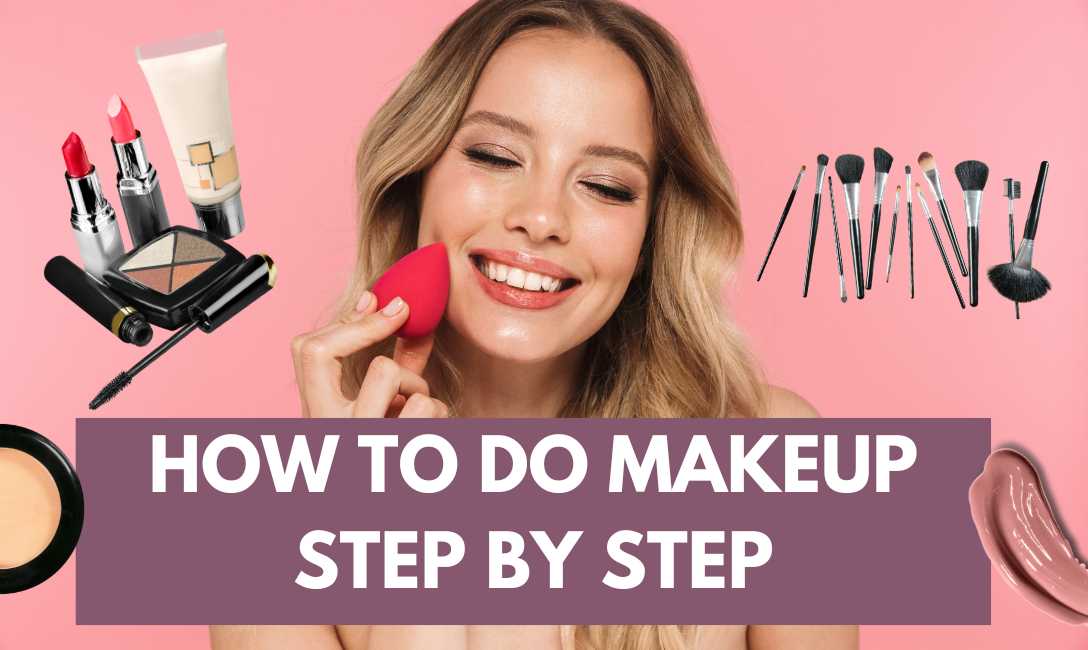
How to Apply Makeup Step by Step?
1. Start with Clean, Moisturized Skin
Proper skin preparation is the foundation of any great makeup look. Makeup applies best on clean, well-moisturized skin because it provides a smooth canvas, helps products blend more seamlessly, and prevents flaky or patchy areas.
Begin by washing your face with a gentle cleanser tailored to your skin type—whether oily, dry, combination, or sensitive. This removes dirt, oil, and impurities that can clog pores and interfere with makeup adherence. After cleansing, apply a moisturizer to hydrate and nourish your skin. Moisturizing plumps up the skin and smooths fine lines, allowing foundation to glide on evenly.
If you have oily skin, opt for a lightweight, mattifying moisturizer that controls shine without drying out your skin. For dry skin, a richer cream will lock in moisture and create a dewy base. Don’t forget to apply sunscreen if your moisturizer doesn’t have SPF, as protecting your skin from UV damage is essential whether you wear makeup or not.

2. Apply Primer
Primer acts like a magical base layer that helps your makeup stay put longer and look better. It fills in fine lines, blurs pores, and smooths uneven texture so your foundation applies flawlessly.
There are many types of primers formulated for different needs:
- Mattifying primers control excess oil and shine, ideal for oily or combination skin.
- Hydrating primers add moisture and a radiant glow, perfect for dry or dull skin.
- Color-correcting primers can neutralize redness, sallowness, or dark spots with subtle tinting.
- Pore-filling primers smooth enlarged pores and create a refined surface.
Apply a pea-sized amount to your face using clean fingers or a brush. Focus on areas prone to shine or uneven texture, such as the T-zone and cheeks. Allow the primer to set for a minute before moving on to foundation. This step greatly improves your makeup’s staying power and overall finish.

3. Foundation: Even Out Your Complexion
Foundation is the key product for creating an even skin tone and disguising imperfections like redness, discoloration, and blemishes. It comes in various forms including liquid, cream, powder, and stick—each suitable for different skin types and coverage preferences.
To choose the right shade, test foundation along your jawline or wrist in natural light to find a match that disappears seamlessly into your skin. Undertones (warm, cool, neutral) are equally important to ensure your foundation looks natural.
Apply foundation starting from the center of your face—nose, cheeks, forehead—and blend outward toward the hairline and jaw using a brush, sponge, or fingers. Using a damp beauty sponge gives a more natural, airbrushed finish by sheerly blending the product into your skin.
If you prefer medium to full coverage, build up layers gradually instead of applying too much product at once. For lighter coverage, opt for a tinted moisturizer or BB cream. Blending well is essential to avoid harsh lines and maintain a flawless look.

4. Concealer: Brighten and Cover
Concealer is a versatile product designed to mask specific imperfections that foundation might not fully cover. These include dark circles under the eyes, hyperpigmentation, blemishes, and redness.
Choose a concealer shade based on the purpose:
- For under-eye circles, select a shade one or two tones lighter than your foundation to brighten and lift the area.
- For blemishes and redness, use a concealer that matches your foundation perfectly.
Apply concealer using a small brush or your fingertip, dabbing gently rather than rubbing to maintain coverage. For dark circles, apply in a triangular shape under the eye and blend outward. For spots, apply directly on the blemish and blend the edges into the surrounding skin.
Setting the concealer with a light dusting of translucent powder helps prevent creasing and ensures it lasts throughout the day.

5. Set with Powder
Setting powder helps lock your base makeup in place, absorbs excess oil, and prevents shine, especially for those with oily skin. It also minimizes the appearance of pores and fine lines by giving a smooth, matte finish.
Use a fluffy brush or powder puff to lightly dust powder over your face, focusing on the T-zone (forehead, nose, chin) where oil tends to accumulate. If you prefer a dewy finish, avoid over-powdering and instead apply powder only to areas prone to shine.
There are translucent powders that work well for all skin tones, as well as tinted powders that can add additional coverage or warmth. Pressing the powder into the skin rather than sweeping it on helps maintain a natural look and prolong makeup wear.

6. Add Dimension with Bronzer
Bronzer warms up your complexion and adds subtle contour to your face, giving the appearance of a healthy, sun-kissed glow. It can also be used to sculpt your face by emphasizing shadows.
Apply bronzer using a large, fluffy brush. Sweep it along the areas where the sun would naturally hit your face: the tops of your cheeks, temples, jawline, and the sides of your nose for subtle contouring.
Choose between matte bronzers for a natural shadow effect or shimmer bronzers for a radiant finish. Be careful to blend well to avoid harsh lines, making sure the bronzer transitions smoothly into your foundation.
Bronzer is a great way to add warmth to your face, especially in cooler months or when your skin looks pale.

7. Blush: Bring a Healthy Flush
Blush adds a youthful and healthy glow by introducing a pop of color to your cheeks. It complements your overall makeup and brightens your complexion.
Smile gently to find the apples of your cheeks, then apply blush there, blending upward toward your temples for a lifted effect. Powder blushes are the most common, but cream or gel blushes work well on dry skin for a natural, dewy look.
Pick a blush shade that complements your skin tone—soft pinks for fair skin, peaches and corals for medium tones, and deep berries or brick reds for darker complexions. Blush can be layered lightly to build up intensity and tailored for day or night looks.

8. Highlight: Illuminate Your Features
Highlighter accentuates the high points of your face that naturally catch the light, adding dimension and a radiant glow. Using highlighter strategically can make your skin look youthful and luminous.
Apply highlighter on the tops of your cheekbones, the bridge of your nose, the cupid’s bow above your lips, brow bones, and sometimes the inner corners of your eyes. Use a fan brush or your fingertips to apply a small amount and blend well.
Choose a highlighter that suits your skin tone and desired effect—pearlescent or champagne tones for fair skin, golden or bronze for medium to deep skin tones. Avoid over-applying to keep your glow subtle and sophisticated rather than shiny or oily-looking.
9. Define Your Brows
Eyebrows frame the face and have a significant impact on your overall appearance. Well-groomed and defined brows balance your features and add polish to your makeup look.
Start by brushing your brows upward with a spoolie brush to see their natural shape. Use a brow pencil, powder, or pomade that matches your brow color to fill in sparse areas with short, hair-like strokes. Follow your natural arch and avoid over-drawing for the most natural effect.
Finish by setting your brows in place with a clear or tinted brow gel to hold them throughout the day.

10. Eyeshadow: Add Depth and Interest
Eyeshadow adds dimension, color, and personality to your eyes. Start by applying an eyeshadow primer to your eyelids to keep the eyeshadow vibrant and crease-free.
Begin with a neutral base shade across your entire lid. Apply a medium shade in the crease to create depth, blending it carefully for a soft transition. Use a darker shade on the outer corner for added drama or to elongate the eyes.
To brighten your eyes, add a shimmery or light color to the inner corners and just below the brow bone. Experiment with colors and finishes like matte, shimmer, or metallic depending on the occasion.

11. Eyeliner: Define the Eyes
Eyeliner defines your eyes and can dramatically change their shape and size. For beginners, pencil liners are easiest to use, while liquid liners create sharper, more precise lines for advanced users.
Apply eyeliner close to your upper lash line to make lashes look fuller and your eyes more awake. You can also line the lower lash line or waterline for added definition.
Experiment with styles such as a simple line, winged liner, or smudged for a smoky effect. Use waterproof formulas for longer wear.
12. Mascara: Open Up Your Eyes
Mascara lengthens and volumizes your lashes, making your eyes appear bigger and more defined. Start by curling your lashes with an eyelash curler for added lift.
Apply mascara from the base of your lashes to the tips using a zigzag motion to avoid clumps. Coat both upper and lower lashes for a wide-eyed effect. Choose mascaras based on your desired effect—lengthening, volumizing, or waterproof.
Multiple coats can intensify the look, but be sure to let each coat dry slightly before applying the next.
13. Lips: Complete the Look
Lips are the finishing touch to your makeup look. Start by exfoliating your lips gently to remove dead skin and apply a hydrating balm for a smooth base.
Use a lip liner to define your lips and prevent lipstick from feathering. Choose a lip color that complements your overall makeup—nude shades for natural looks, bold reds or berries for statement lips.
Apply lipstick directly from the bullet or use a brush for precision. For longer-lasting color, blot with tissue and reapply a second layer.
Add gloss for shine or keep matte for a sophisticated finish.
14. Set Your Makeup
Setting spray locks your makeup in place, controls oil, and gives your skin a fresh, dewy finish. Hold the bottle about 8-10 inches from your face and mist evenly.
Choose a setting spray formulated for your skin type—hydrating for dry skin, mattifying for oily skin.
Setting spray helps prevent makeup from fading, smudging, or settling into fine lines throughout the day, making it an essential final step.

Tips for a Flawless Makeup Application
Practice makes perfect with makeup. Take your time to learn your tools and products. Always blend thoroughly for natural transitions and start with light layers building up as needed. Invest in quality brushes and clean them regularly to avoid breakouts. Finally, always remove your makeup at the end of the day to keep your skin healthy and glowing.
How to Apply Makeup Step by Step? Conclusion
Mastering the art of makeup application is a rewarding journey that enhances your natural beauty and boosts your confidence. By following this step-by-step guide, starting with proper skin preparation and progressing through foundation, eyes, lips, and setting your makeup, you can achieve a polished, professional look whether for everyday wear or special occasions. Remember, makeup is highly personal—feel free to experiment with different products, colors, and techniques until you find what makes you feel your best. Consistent practice and understanding your unique skin needs will transform your routine into a creative and enjoyable ritual. Above all, embrace your natural beauty and have fun with the process!
How to Apply Makeup Step by Step? Frequently Asked Questions (FAQs)
Q1: How often should I wash my makeup brushes?
It’s best to clean your makeup brushes at least once a week to remove product buildup, oils, and bacteria. This helps prevent breakouts and ensures smooth application.
Q2: Can I apply makeup without primer?
Yes, you can, but primer significantly improves the longevity and finish of your makeup. It helps smooth your skin and control oil or dryness depending on your skin type.
Q3: How do I choose the right foundation shade?
Test foundation shades along your jawline in natural light. The best match will blend seamlessly without leaving a noticeable line between your face and neck.
Q4: What is the difference between setting powder and setting spray?
Setting powder absorbs oil and mattifies the skin, ideal for oily skin types. Setting spray locks makeup in place and can add a dewy or natural finish depending on the formula.
Q5: How can I make my makeup last longer?
Start with a clean, moisturized face, use primer, set your base with powder, and finish with setting spray. Avoid touching your face and use long-wear or waterproof formulas.
Q6: Is it necessary to use both foundation and concealer?
Not always. Foundation evens out your skin tone while concealer targets specific imperfections. Depending on your skin and coverage needs, you can use one or both.
Q7: How do I prevent makeup from creasing under my eyes?
Apply a small amount of concealer, blend well, and set it lightly with a translucent powder to reduce creasing. Using an eye primer can also help.
Q8: Can I use the same makeup routine for day and night?
You can, but for nighttime looks, you might want to add more dramatic eyeshadow, eyeliner, and bolder lip colors. Daytime makeup typically leans towards natural and subtle tones.